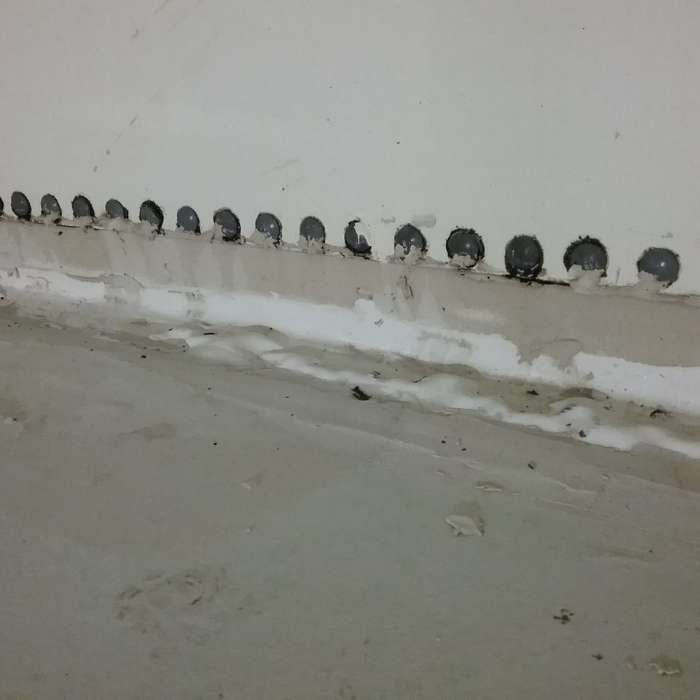
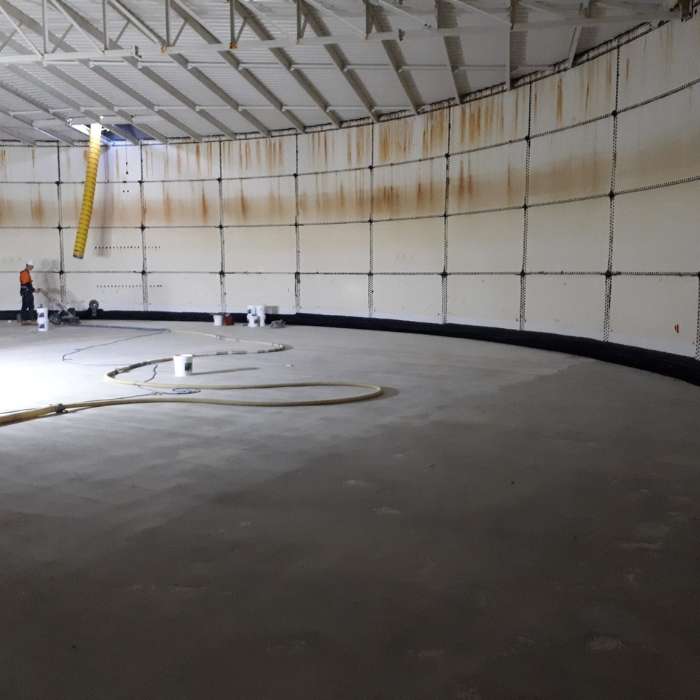
- Existing membrane was failing and delaminating.
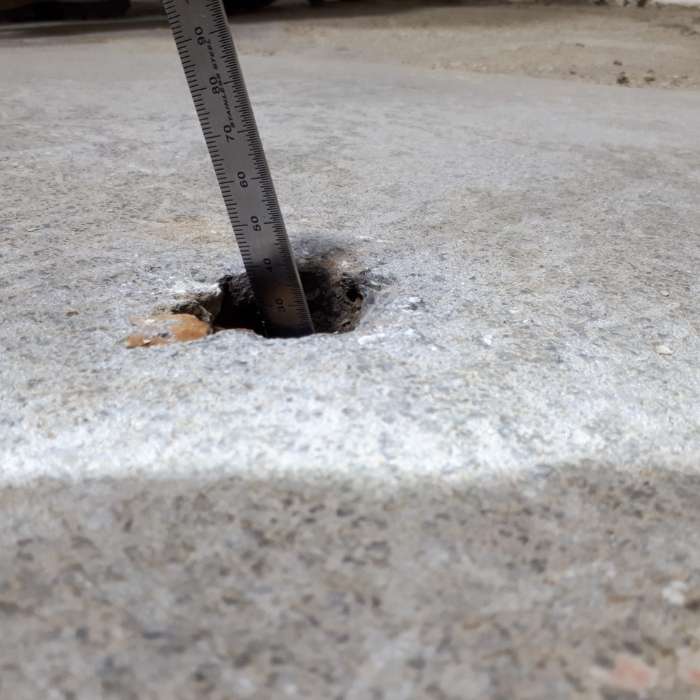
- Concrete surface below was exposed in areas.
- Holes were found in the base of the tank causing a water leak.
- Bottom joint where the concrete base met with the steel sides of the tank was delaminating
Case Study : Re-Waterproofing Tank
- 01. Brief
- 02. Preparation
- 03. Installation
- 04. Application
- 05. Result
01. Brief

Brief - Reason For Repair
02. Preparation

Preparation
- The concrete base needed to be ground to remove the previous coating to prepare the concrete and open up capillaries for a stronger bond to the existing floor.
- Joint where the steel sides of tank meet the concrete base is cleaned out and prepared
- Expansion joints were cut and cleaned using a v blade then repaired using an epoxy compound to create a stronger joint.
- A bond breaker is installed around the base joint in the tank
03. Installation

Installation - First Sealing Coat
- The first coat of liquid rubber was then sprayed to the entire surface area of the tank base and 300mm high
- Wet film thickness is measured all through the coating of the 1st coat to ensure consistency of the thickness of the coating
- The area is then left-over night to dry
04. Application

Application - Second Coating
- Second coat of liquid rubber was then sprayed to the entire surface area of the tank base and 300mm high
- Wet film thickness is measured all through the coating of the 2nd coat to ensure consistency of the thickness of the coating
- The area is then left-over night to dry
05. Result

Testing & Result
- Once the coating has been completed and dry, testing is carried out
- Dry film and pull off tests
- Works are completed. All protective coverings are removed, and the site is cleaned.