- Home
- Industries
Food
Beverage
Water & Waste
Industrial
- Coatings & Finishes
Concrete Protection
Mechanical Flooring
Multi Purpose Finishes
Liquid Membranes
Corrosion Prevention
- Remedial Work
- Case Studies
- Contact
ASC — Installation Of AGV Floor
Lidcombe , NSW
Reason For Repair
- The floor was uneven and unsuitable in its current condition for AGV’s use.
- Slabs on either side of the expansion joints had moved and were at different heights.
- Expansion joints were cracked and open due to years of wear and tear.
Step 1 : Preparation Of The Floor
- The floor needed to be ground to clean the concrete and open up capillaries for a stronger bond to the existing floor.
- 3 phase remote control diamond grinders were used to prepare the floor.
- Expansion joints are saw-cut and repaired using an epoxy compound to create a stronger joint.
- All inconsistencies are filled with an epoxy mortar to ensure a level surface.
- The floor was then vacuumed to ensure no dust or dirt remained on the surface.
- The surface is now clean and contaminant free ready for coating installation.
Step 2 : Installation
- The floor was divided into 4 sections along expansion joints.
- Expansion joints and edges were protected with foam tape.
- The floor was installed in a staggered manner to guarantee a wet edge and level continuity.
- Sections 1 and 3 were completed first followed by sections 2 and 4 the day after. This was essential in order to allow the product to cure fully before the next sections could be completed.
Before
After
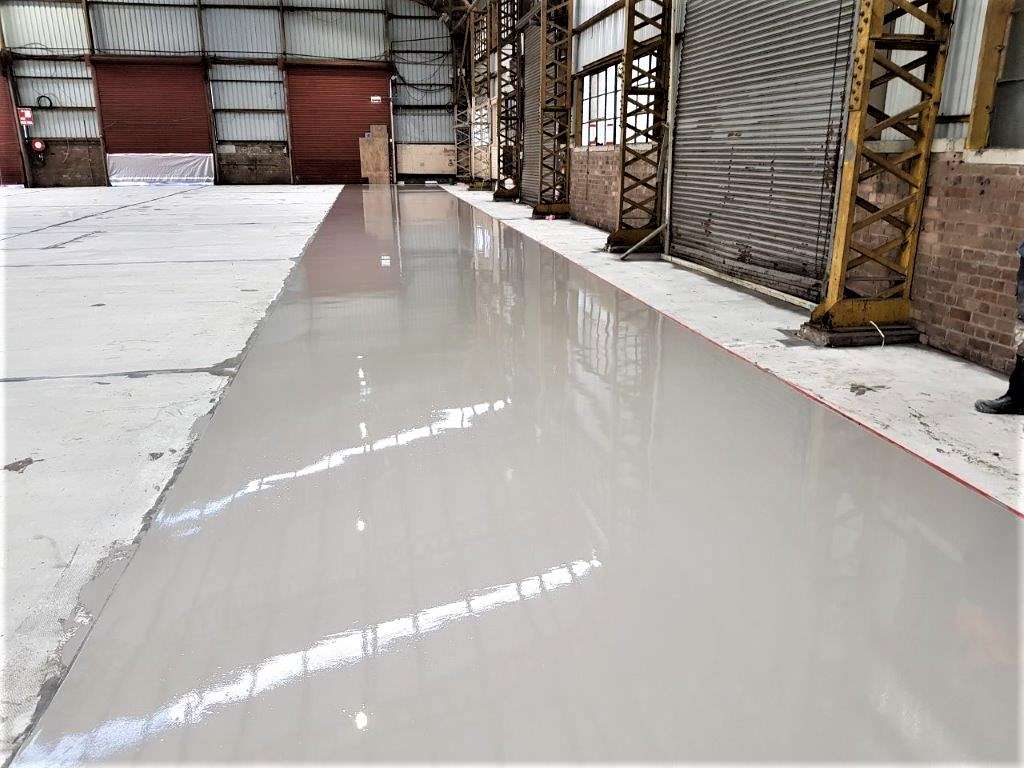
Step 2A : Curing Process
Before: 20 minutes after completion of installation.
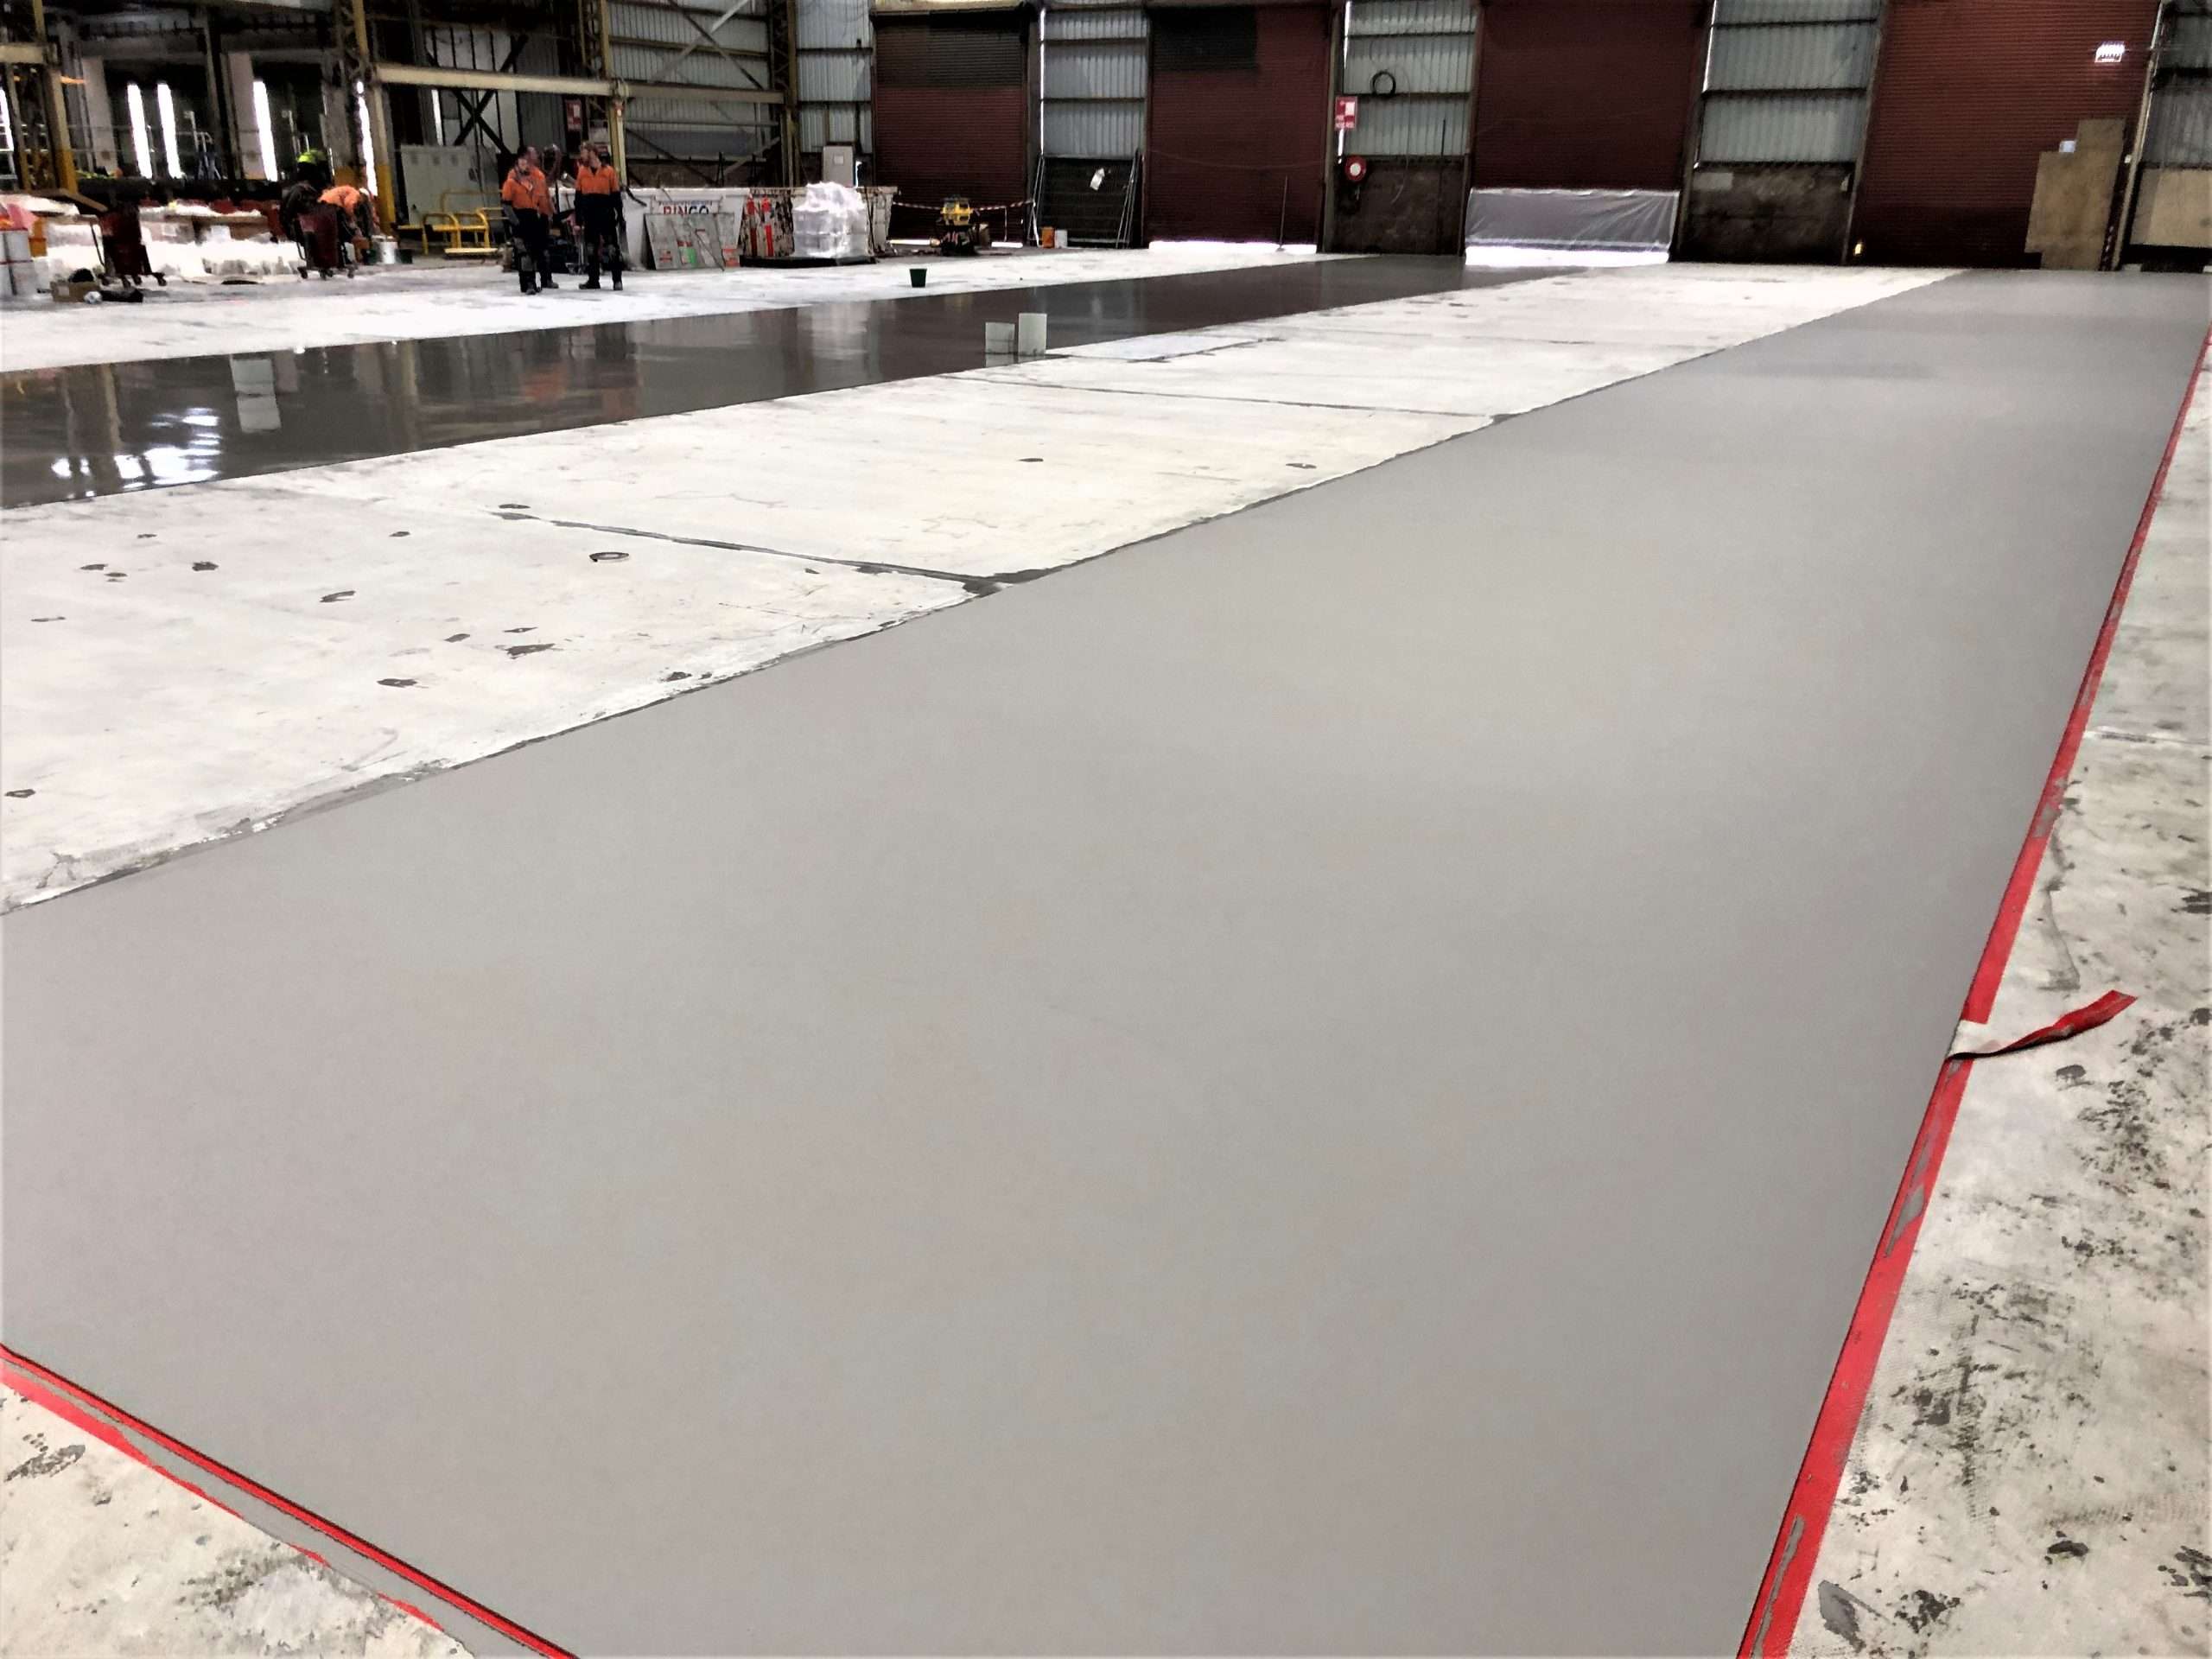
After: 2 Hours After Installation
Step 3 : After Installation
The floor is now level.
4th Step : Expansion Joints
The floor was left to cure for 48 hours before expansion joints were cut and filled with a “flexible non shrink filler” to ensure a perfectly level floor with semi-rigid joints.